
Build a Media Centre Project from Gallery, Uploads and New Generations
Create a project and populate it with media.
Build one organised scene in Media Centre before you begin detailed editing. This lesson creates a 16:9 project, explains the four ways to bring media into it, and finishes with video, music and voiceover on the correct tracks.
Before you begin
Have one owned video in Gallery, one owned video file on your device, a music or sound-effect file, and an owned voiceover ready to use. The reviewed project uses a Gallery video, an uploaded MP4, an uploaded MP3 music cue and a permitted synthetic voiceover.
Media Centre currently accepts MP4, WebM and MOV video, plus MP3, WAV, M4A and OGG audio. A supported file type only means the picker can accept it. It does not grant permission to use the file.
Create the project around its destination
1. Name the project and choose its frame
Open New Project, enter a title that will still make sense in a list later, then choose 16:9 Landscape, 9:16 Portrait or 1:1 Square. The worked example is called Observatory signal at moonrise and uses 16:9 for a landscape video.
Choose the project ratio for the place where you expect to use the finished video. The ratio sets the composition frame. It does not repair a portrait source that was framed badly for landscape, so inspect important subjects near the edges before continuing.
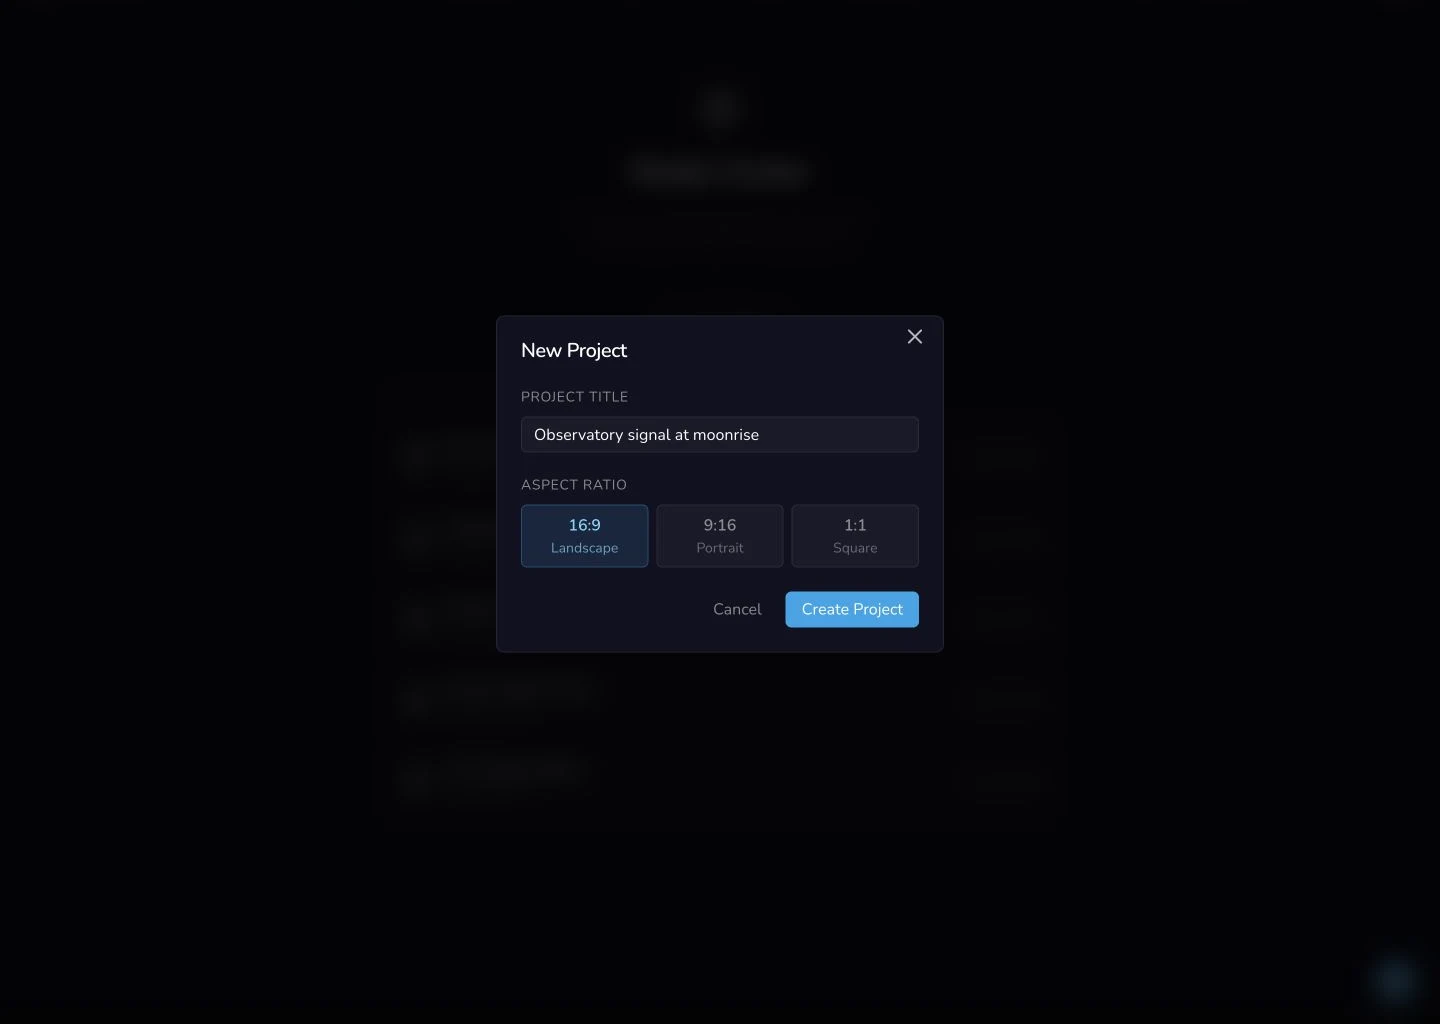
Set the title and destination ratio before arranging media. The chosen project frame does not recompose the source files for you.
Know what each asset path does
2. Use Gallery, Upload, Queue and Generate for different jobs
The left rail has four paths:
- Gallery retrieves media already owned by the signed-in account.
- Upload adds an owned file from the current device.
- Queue shows work started from the embedded generation forms and its current state.
- Generate opens Video, Audio and Image creation controls inside this project.
Open each path before adding media so you know where to return. In the reviewed project, Queue was empty and Generate was inspected without making a new paid request. An existing completed music result was used instead.
If you start a request in Generate, keep that panel open while its own polling continues. Polling differs by generation path, and switching panels unmounts the form. Queue is useful for the current project session, but an item that was still running may appear as lost after a browser refresh. Preserve the original request rather than submitting a duplicate.
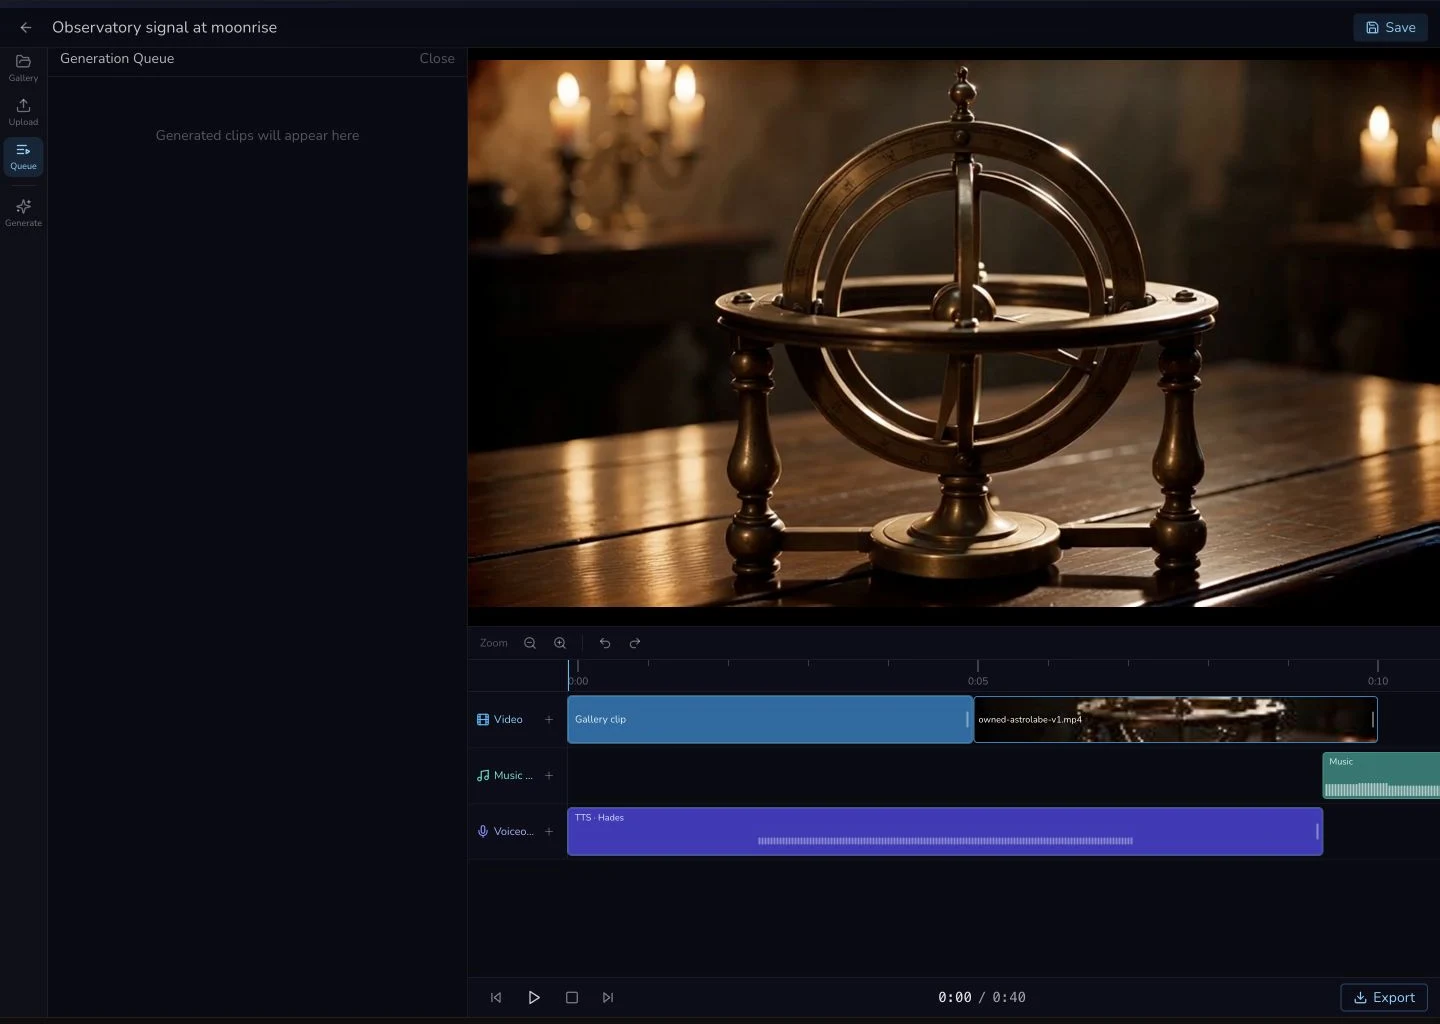
The four paths remain separate. Queue reports embedded generation work; it is not a second Gallery or a promise of recovery after refresh.
Populate the Video track
3. Add an owned Gallery video, then upload a second clip
Open Gallery and choose the owned video you want to reuse. A recognised video is added to Video. Then open Upload and select or drop the owned MP4, WebM or MOV file from your device. Video uploads also go to Video.
Confirm both clips appear on the Video row before moving on. In the worked project, Gallery clip and owned-astrolabe-v1.mp4 form the two-video sequence. Do not infer source order from the preview alone; the timeline row is the useful check.
Add music and voiceover deliberately
4. Put scene audio on Music / SFX and speech on Voiceover
Upload the owned music or sound-effect file and confirm it appears on Music / SFX. For narration already stored in Gallery, use the plus control on the Voiceover track and choose From Gallery. The worked example uses an owned MP3 music cue and an owned Hades synthetic voiceover.
Check the destination immediately after every addition. If speech lands on the wrong audio row, select and remove that misplaced clip, then add the same owned Gallery result through the Voiceover row's plus control. Do not leave it on Music / SFX merely because it still plays.
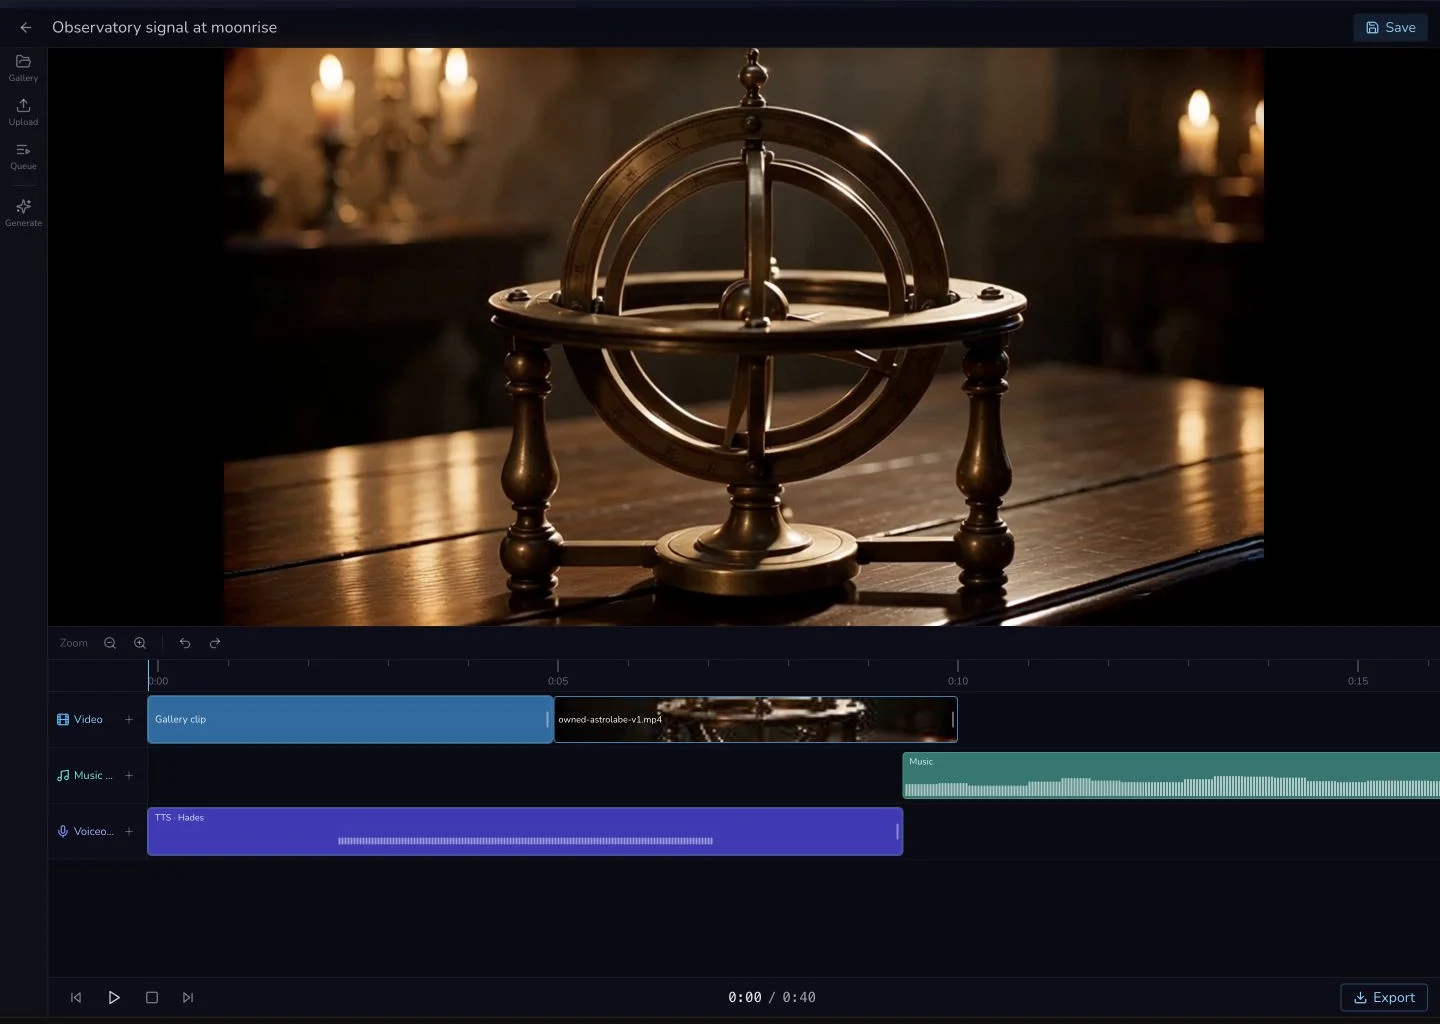
The completed build has two video clips, one music cue and one voiceover. Timeline editing comes after this structure is correct.
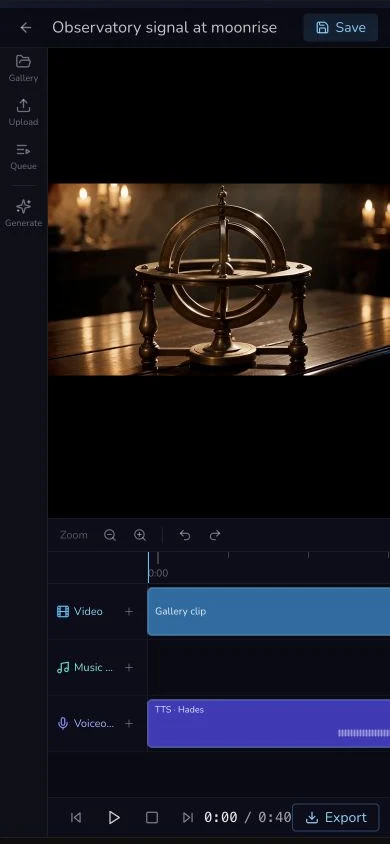
The project title, preview and track structure remain readable at 390 pixels wide. Use a desktop pointer for detailed timeline editing, which is covered in the next Media Centre lesson.
Checkpoint
Check your result
- The project title identifies the scene and its aspect ratio matches the intended destination.
- Gallery, Upload, Queue and Generate are understood as four different paths, without assuming that active Queue work survives refresh.
- Two video clips are on Video, the music cue is on Music / SFX and the narration is on Voiceover.
- Every Gallery item and uploaded file is owned or permitted for the intended use, and any misplaced audio has been removed and added through the correct track.
Troubleshooting without duplicate work
If something looks wrong
Troubleshooting
- Symptom
- An uploaded file does not appear in the picker.
- Likely cause
- Its extension is outside the mounted Media Centre formats, or the browser cannot read the selected file.
- Next safe action
- Use MP4, WebM or MOV for video, or MP3, WAV, M4A or OGG for audio. Confirm you own the converted file before uploading it.
- Symptom
- A voiceover appears on Music / SFX.
- Likely cause
- The Gallery item was not recognised as speech or was added through the wrong track path.
- Next safe action
- Remove the misplaced clip, use the Voiceover row's plus control, choose From Gallery and select the same owned result.
- Symptom
- A running Queue item is lost after refresh.
- Likely cause
- In-flight Queue recovery is not durable in the reviewed workflow.
- Next safe action
- Do not submit again automatically. Check Gallery for the original result and preserve any request details you already have before contacting support.